Easy Drawing of the Back a Girls Head
For many people who love drawing, being able to sketch a girl's face beautifully is the goal.
However, drawing a girl's face may be one of the most challenging subjects to draw due to its complex and intricate physical features.
Fortunately, we have curated a step-by-step tutorial on how to draw a girl's face, summarized in 9 easy and simple steps.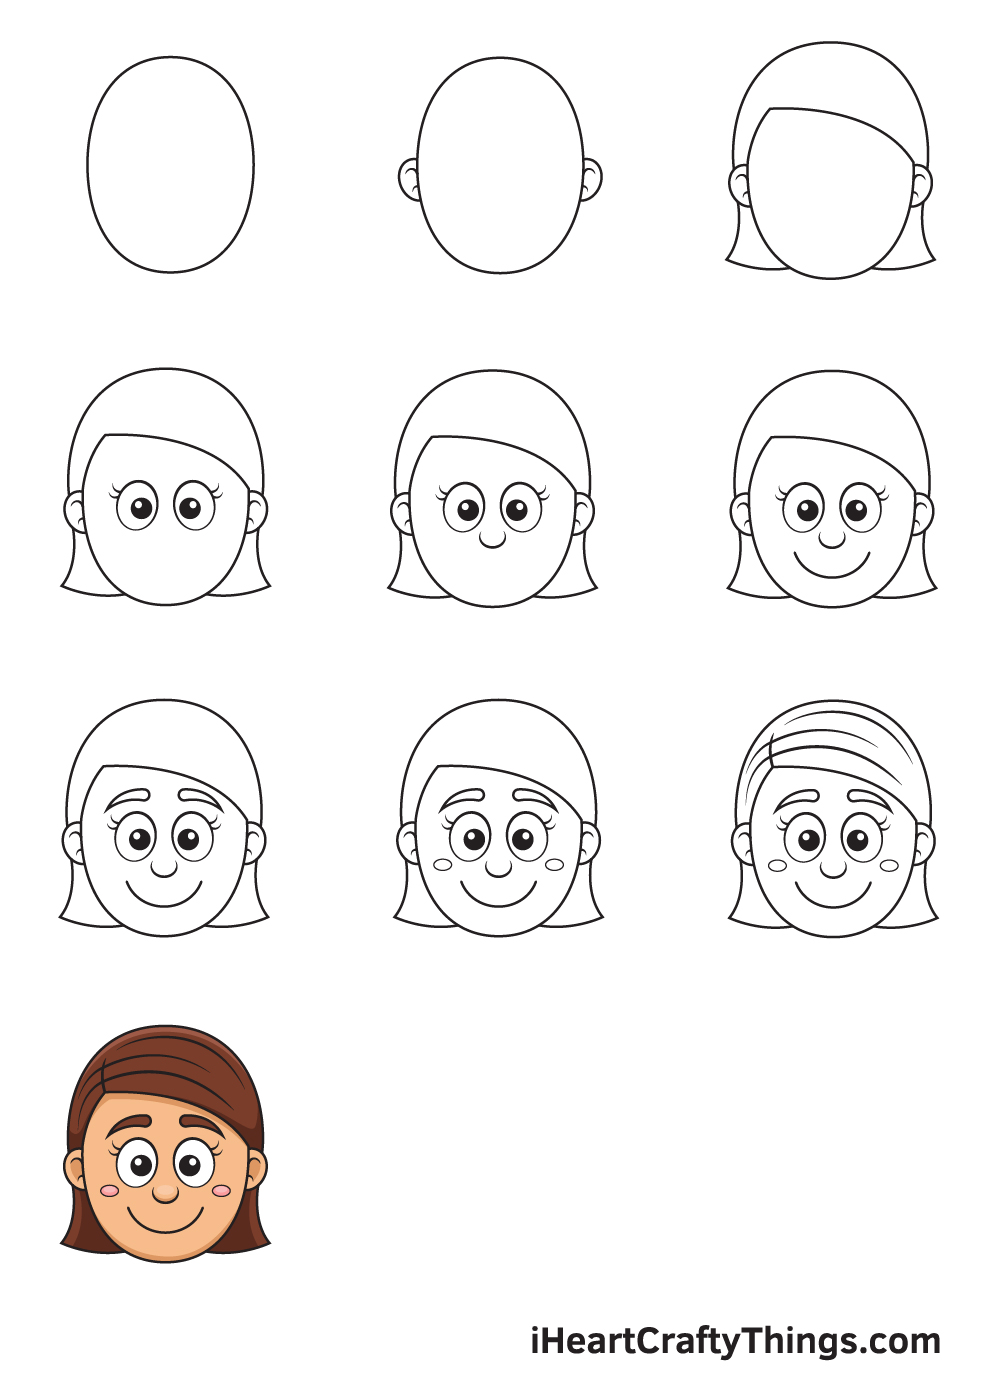
You can apply these steps whether you want to draw a realistic face or a cartoon face. Each step is accompanied with comprehensible illustrations that serve as your visual guide as you follow the instructions.
Whether you are a novice or an expert in drawing, we're sure you can surely follow these steps effortlessly.
What's more, you can add your own style and improvise in every step. Mix and match colors to personalize your artwork and make it unique. Feel free to let your imagination wander and unleash your creativity.
Have fun and use your artistic skills!
What's in this Blog Post
- How to Draw a Girl Face – Let's get started!
- Step 1
- Step 2 – Draw the Ears
- Step 3 – Add Hair to the Face
- Step 4 – Next, Draw the Eyes
- Step 5 – Then, Draw the Nose
- Step 6 – Put a Bright Smile on the Face
- Step 7 – Next, Add an Eyebrow
- Step 8 – Add a Blush to the Cheeks
- Step 9 – Add Details and Patterns to the Hair
- 5 Tips To Make Your Girl Face Drawing Even Better!
- Your Girl Face Drawing is Complete!
How to Draw a Girl Face – Let's get started!
Step 1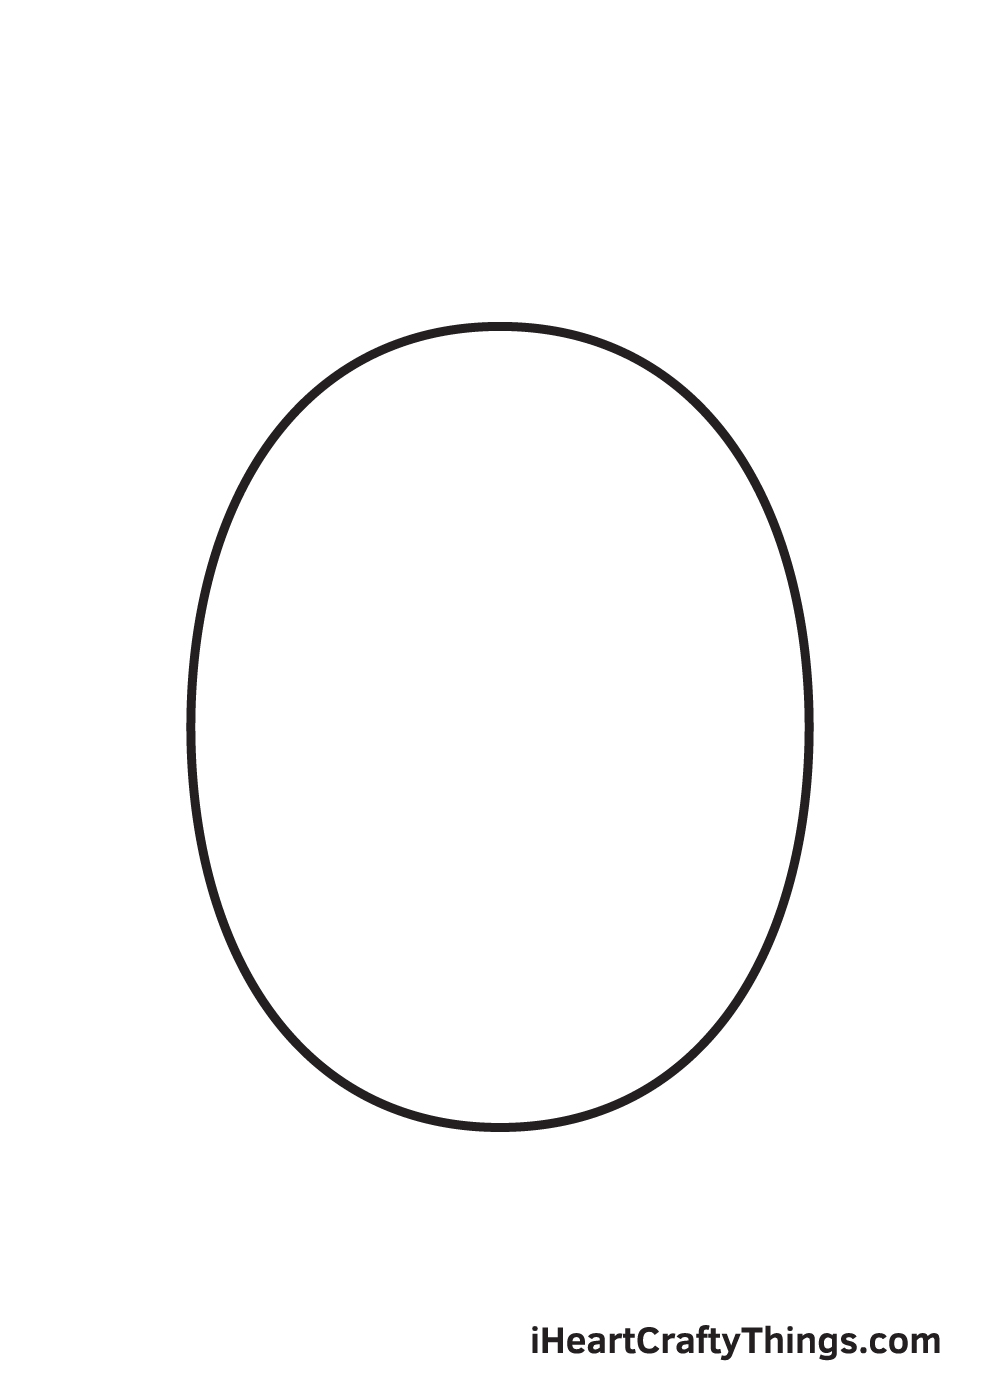
Starting in the very middle of the paper, draw an oval shape to create an outline of the face. You can draw the shape of the face any way you want.
If you prefer a slimmer looking face, draw an elongated oval shape that is relatively similar to the shape of an upside down egg to create the illusion of a longer face.
Otherwise, if you prefer the face to appear plumper, put an emphasis to the roundness of the cheeks.
Step 2 – Draw the Ears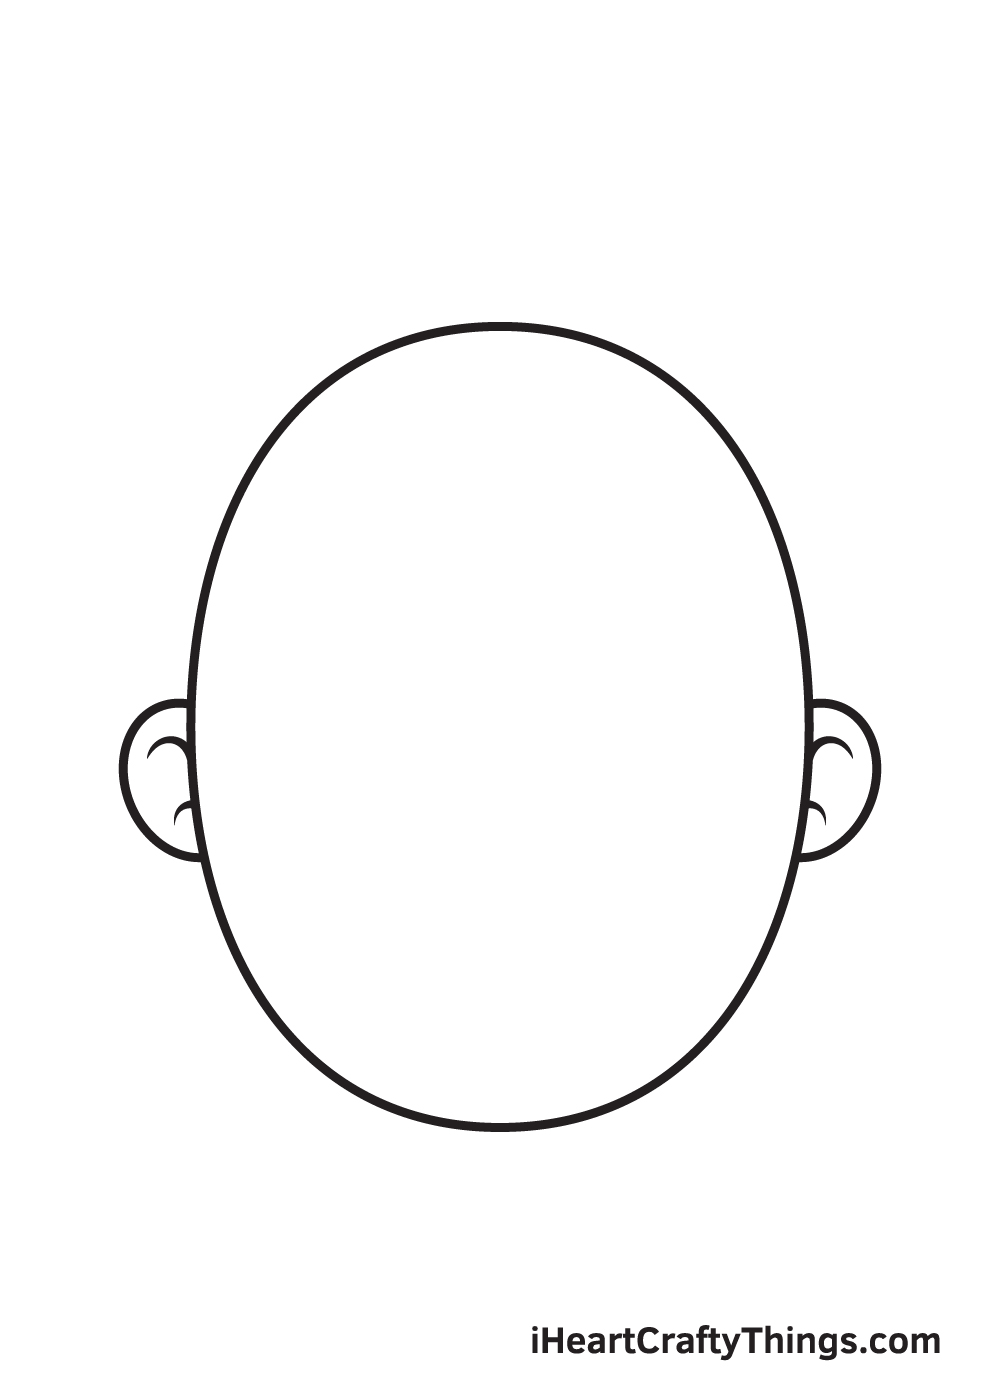
On both sides of the face, draw a pair of ears. You can draw the ears however you like: round, pointed, square, or any shape you want it to be.
Here's a useful tip: In order to draw the ears evenly, you can draw reference lines encompassing the entire face. This will serve as your guideline on where to draw the ears.
Step 3 – Add Hair to the Face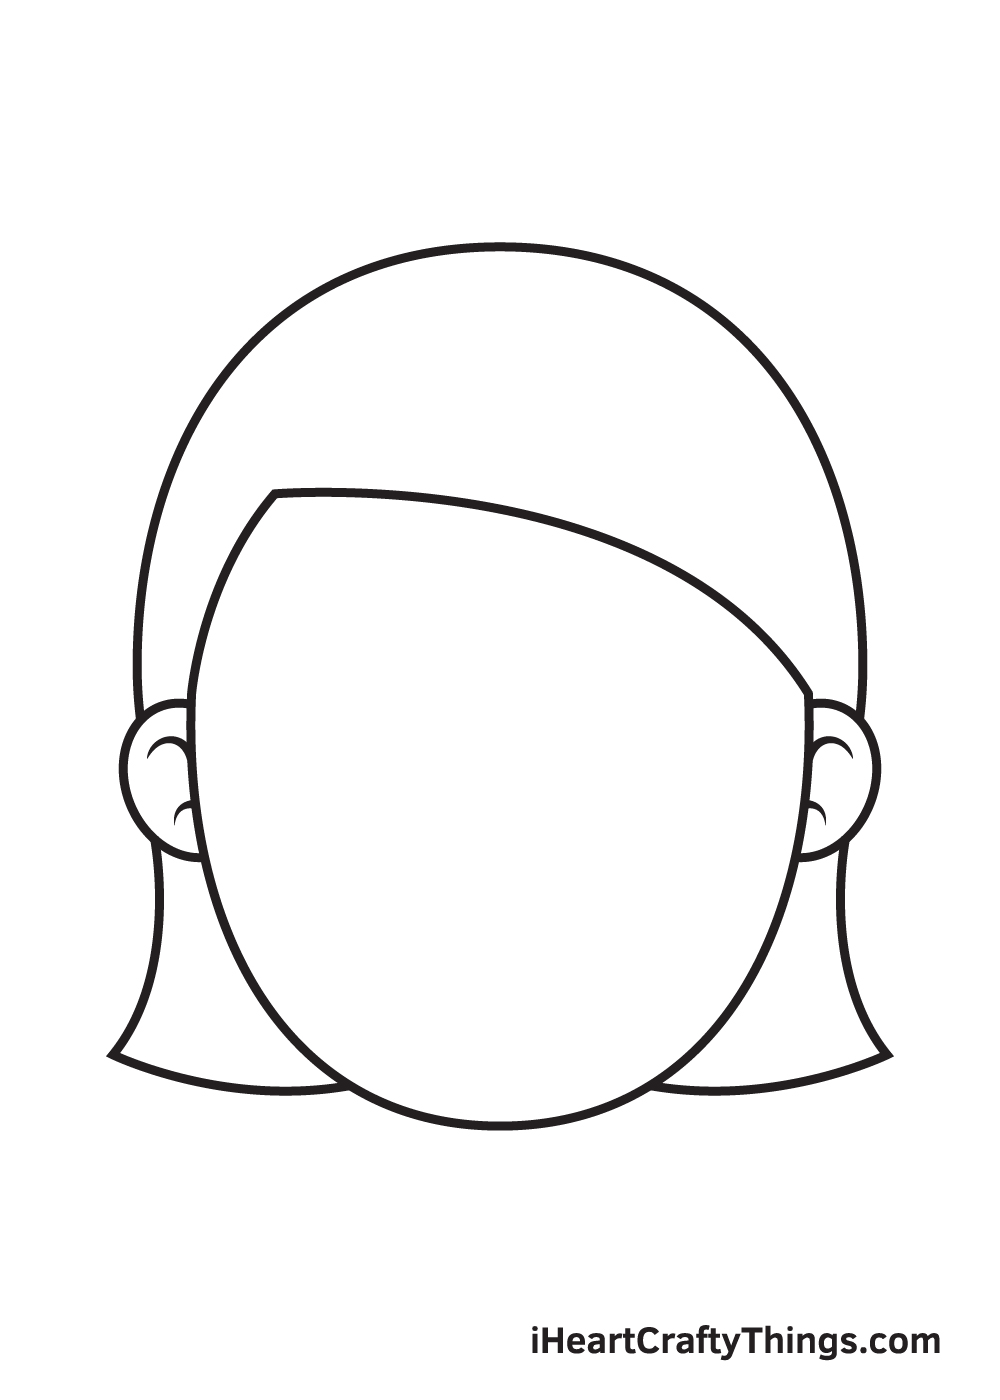
Now, it's time to add hair to your drawing. You can make the hair as long or as short, and as thick or as thin as you want. What's more, you can even adorn it with any accessories, such as a headband, hairpin, and more.
When drawing hair on female characters, keep in mind that girls generally have narrower and shorter forehead compared to guys. Thus, the hairline should not be too distant from the eyebrows. Also, don't forget to add volume to the hair by leaving enough space between the head and the hair.
Step 4 – Next, Draw the Eyes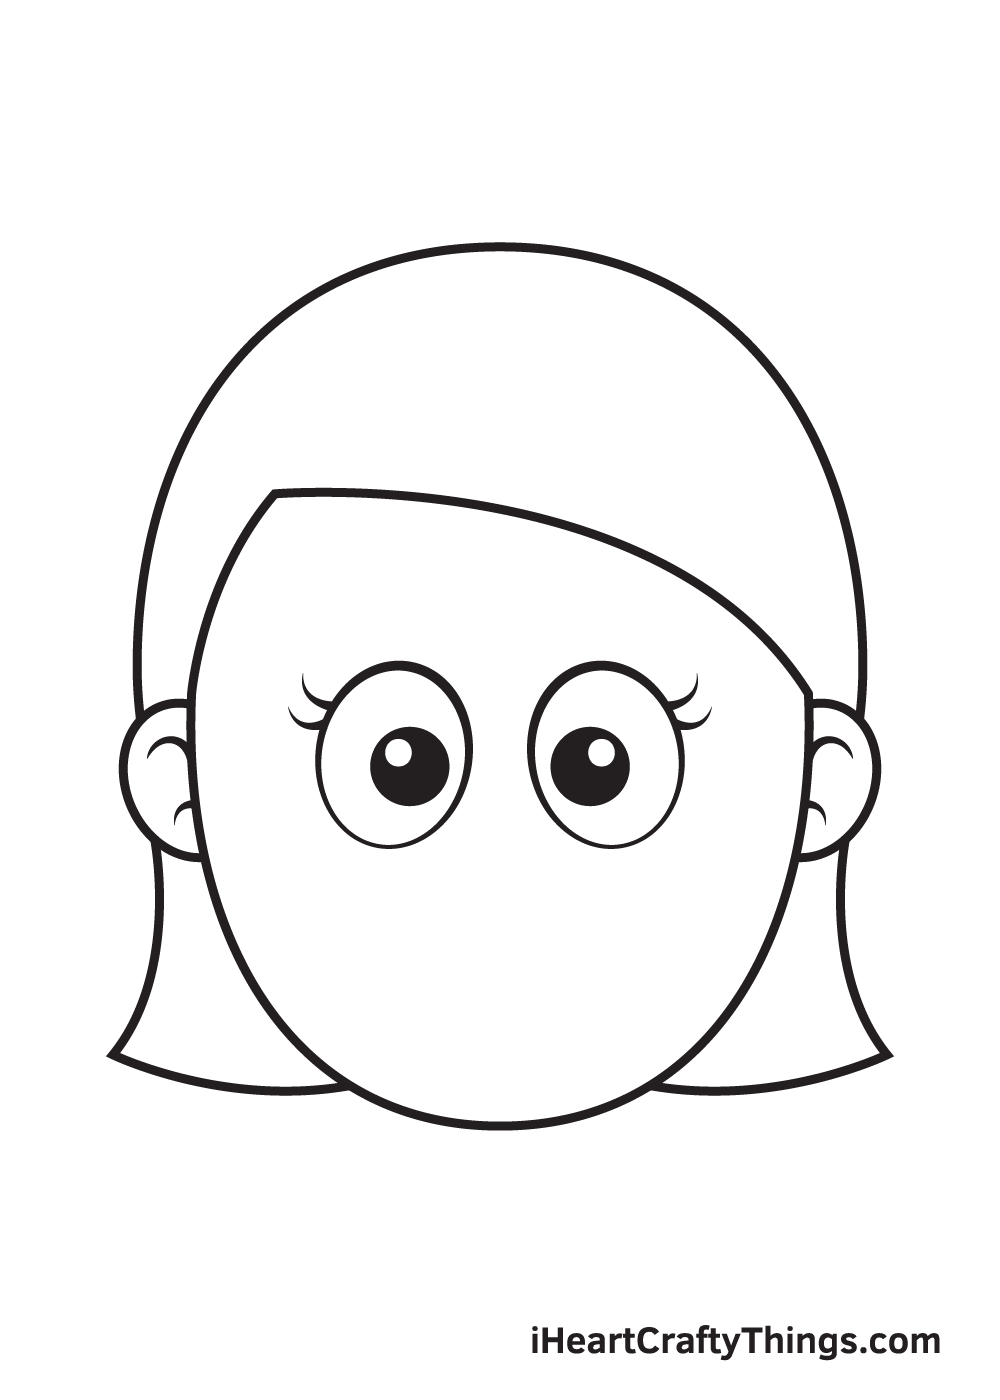
Draw two even round shapes for the eyes. You can draw reference lines across the face and use it as guidelines to make sure that the eyes will be drawn at the same level.
Within the round shape, draw another two circles inside the outline. This time, fill it with shading to easily identify it as the pupil of the eyes. When shading the pupils, leave out a tiny circle unshaded to create a dramatic effect on the eyes and make it appear like it's glimmering.
Needless to say, you can draw the eyes however you want. There are six different eye shapes: almond, upturned, hooded, monolid, downturned, and round.
When drawing the eyes, always remember that women typically have wider, more open eyes than men. Lastly, don't forget to add a few eyelashes on the eyes
Step 5 – Then, Draw the Nose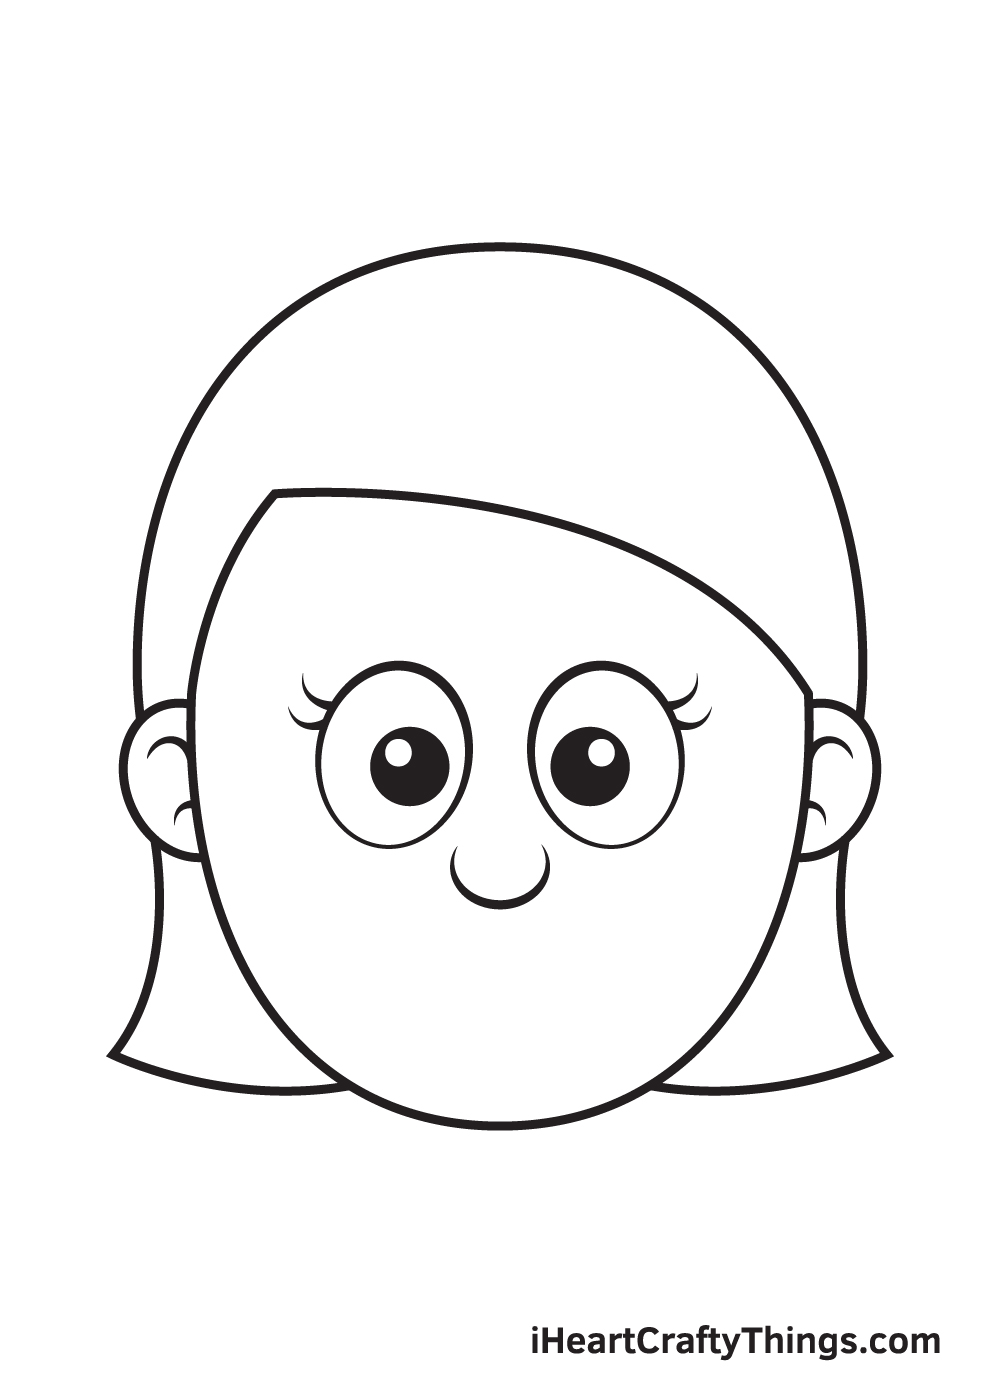
Draw an upside down curved line underneath the eyes, right in between. This will serve as the tip of the nose.
The spot where you draw the nose will determine how long or short the nose will look. If you want the nose to appear short, draw it in close proximity to the eyes. Otherwise, if you want it to look longer, draw it a bit further down.
Step 6 – Put a Bright Smile on the Face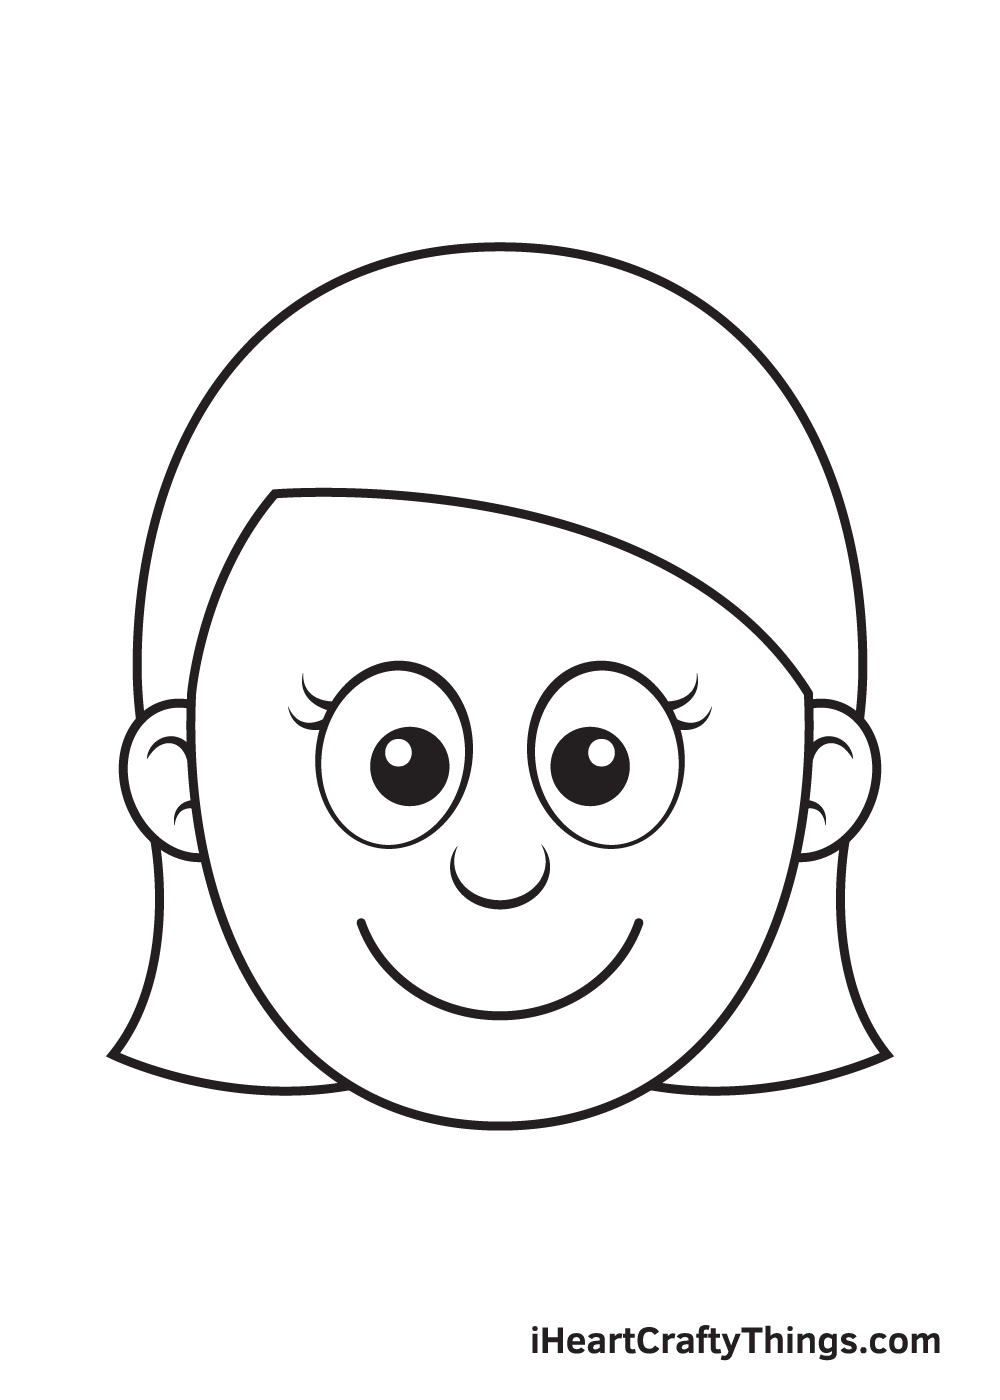
Put an expression or emotion to your drawing by adding a wide smile. Underneath the nose, draw an upside down curved line similar to the previous step. This time, however, it should be relatively bigger.
Don't hesitate to draw its mouth however you like! You can also make the mouth wide open, almost as if your drawing is laughing. To do this, simply draw a horizontal line with a curved line at the bottom. When drawn correctly, this should look like a sideways letter "D".
Step 7 – Next, Add an Eyebrow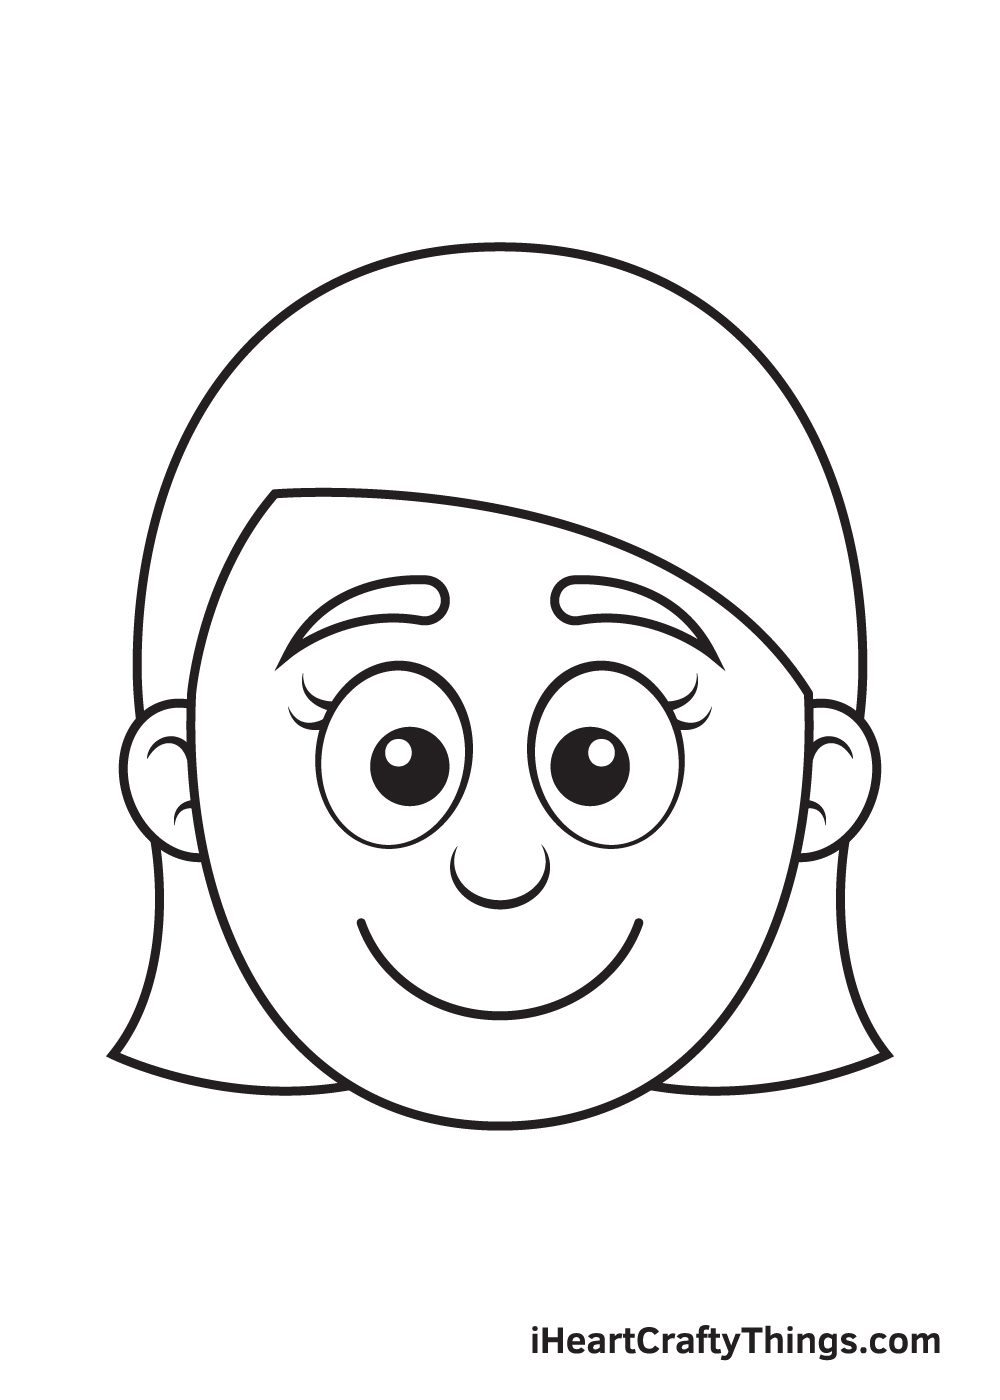
Right above each eye, draw an arched eyebrow. Generally, girls have thinner and more arched eyebrows compared to boys. So, definitely take that into consideration when you're drawing the eyebrows.
Don't be afraid to play around with the eyebrow's shape and thickness as much as you like. Just keep in mind that the form of the eyebrows greatly affect the facial expression of your character.
Step 8 – Add a Blush to the Cheeks
A girl's face wouldn't be complete without a hint of blush. A blush will make your drawing look more feminine and it will also add an emotion to your character's face.
In order to add a subtle blushing effect, simply draw two sideways oval shapes on both cheeks. Keep it a bit further from the nose to make it look more natural.
And there you have it—a blushing cute girl! With that blush on her cheeks, she looks like she's either pleased or embarrassed. Who knows? Either way, she looks adorable and we're certain your drawing looks even more beautiful!
Step 9 – Add Details and Patterns to the Hair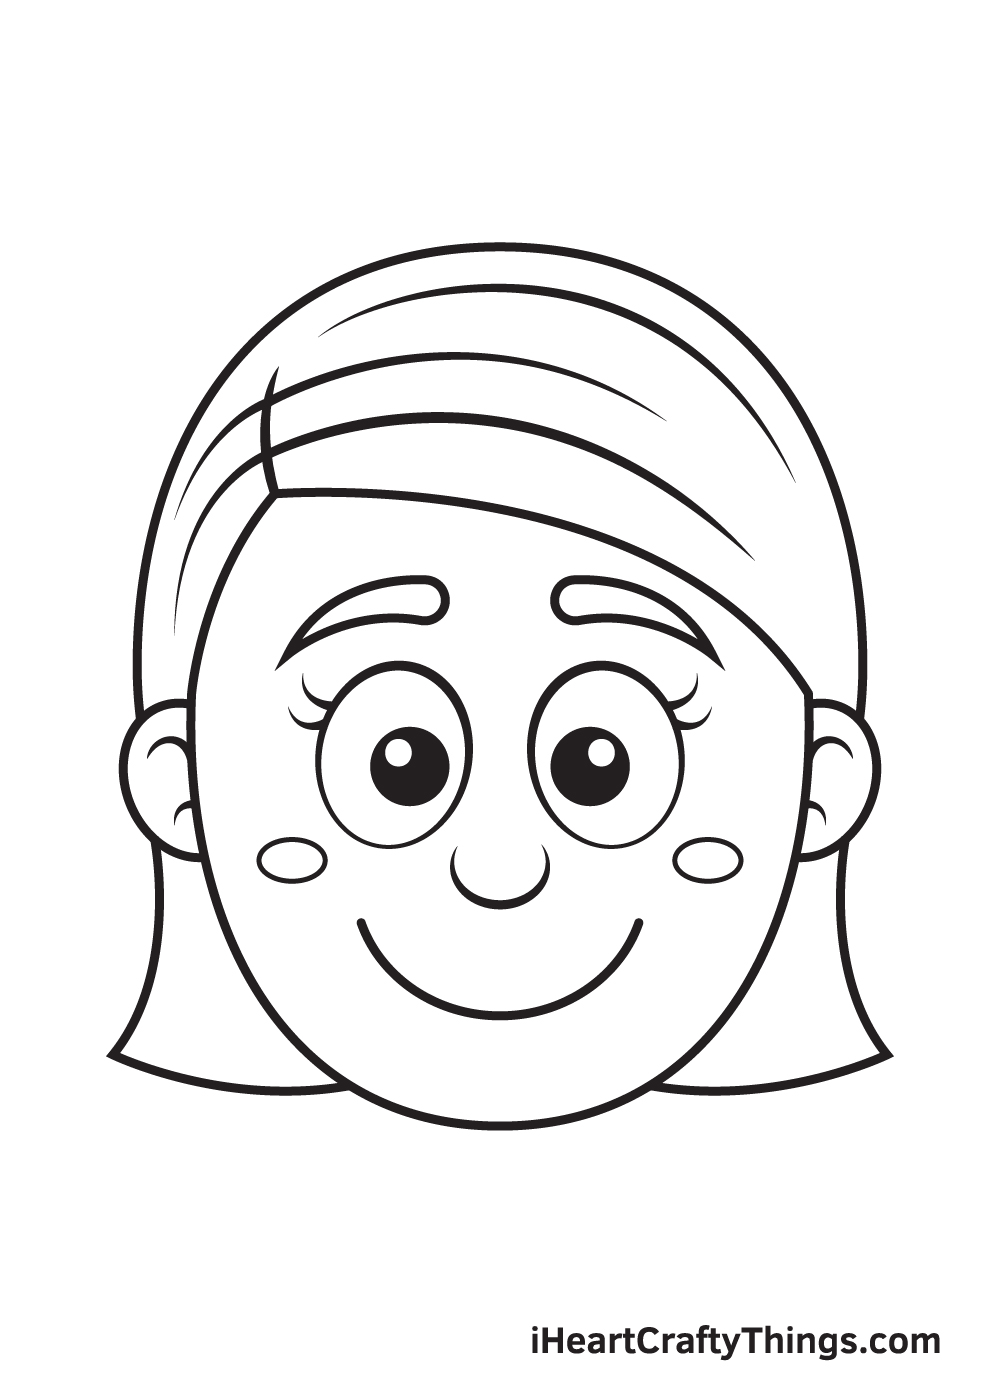
Complete the look by adding streaks on the hair to add texture on the drawing. Draw multiple long lines down the length of the hair to create an illusion of individual strands.
Here, you can see the drawing of a girl's face nearly finished! The only thing it's missing is a dash of colors to complete your artwork!
Finally, here is the most exciting part—filling in the colors for your awesome drawing! This is the part where you can show off your artistic skills and your ability to mix and match various colors.
Start by coloring the face. To create a skin tone color, mix the colors red, yellow, brown, and white. Depending on the complexion you're aiming for, you may want to add more of a specific color than the rest.
After coloring the skin, you can move on to the hair and the eyebrows, which should be the same color. Which hair color do you imagine would look best to your drawing? Perhaps a brunette or simple black hair? You can also use more vibrant colors such as pink, purple and more! It's all up to you!
Have fun playing with colors and watch as your girl face drawing ultimately comes to life!
5 Tips To Make Your Girl Face Drawing Even Better!
Find out how you make this girl face sketch look even more amazing with some fun tips!
We kept the design of this girl face drawing nice and simple, but you could make it even better by adding some details. For example, you could add or change the makeup she is wearing.
This could include the lipstick, eyeliner and blush she is wearing, and these are just a few ideas of what you could change.
Changing details like her makeup can make the drawing even better, but you can also change more drastic details. These could include the shape of her head and the hairstyle that she has.
Or, you could add some accessories such as a bow or a clip in her hair. These are just a few examples of details you could change for this drawing!
We went for a classic cartoon style for this drawing of a girl face. We love the way it looks, but you could also change the style of the design if you wish.
For example, you could try to make it look more realistic. Or, maybe you would like to make this face look like it is from an anime cartoon.
There are plenty of resources you can use to help you if you wish to change the design!
If you really want to take this girl face drawing to the next level, you could draw some more of her body. No matter what style you draw the face in, you could match the design of her body, limbs and clothing to it.
You could create a really fun cartoon character by adding to the drawing in this way!
Finally, it would really make this drawing even better if you were to add a background. This would be especially helpful if you went with some of our previous tips in this guide.
Adding a background really opens this drawing up for you to get creative. You could choose any background setting you can think of and it would look great in its own way!
Your Girl Face Drawing is Complete!
We hope you enjoy this step-by-step tutorial on how to draw a girl's face. With this guide, you can draw and color a girl's face along with its complex features and elaborate details in no time.
And the most fun part is, you can customize its physical attributes and play with various colors as much as you like! While you're at it, why not try using different coloring tools as well?
Once you've finished your masterpiece, we're certain you must be feeling very proud of yourself—as you should be! Completing this girl face drawing is definitely fulfilling.
Make sure to show off your work of art and share it on our Facebook page and on Pinterest. We're sure it looks amazing!
We can't wait to see your unique girl face drawing!
horrocksvinswasander1941.blogspot.com
Source: https://iheartcraftythings.com/girl-face-drawing.html
0 Response to "Easy Drawing of the Back a Girls Head"
Post a Comment